1.Create your own image Using Python
Step 1: Importing the opencv library which is used for computer vision, machine learning, and image processing
import cv2
Step 2: Importing the numpy lib which used to create our own image.
import numpy as np
Step 3: Defining the image dimensions and its color
photo=np.zeros((1000,1000,3))
photo[1:,:1000]=[255,0,0]
photo[200:,:1000]=[122,255,0]
photo[500:,:1000]=[100,200,255]
Step 4: To know the shape of image
photo.shape
Step 5: Displaying the image
cv2.imshow(“blank_image”,photo)
cv2.waitKey()
‘’’ cvWaitKey(x) / cv::waitKey(x) does two things: It waits for x milliseconds for a key press on a OpenCV window (i.e. created from cv::imshow() ). Note that it does not listen on stdin for console input. If a key was pressed during that time, it returns the key’s ASCII code’’’
cv2.destroyAllWindows() #simply destroys all the windows we created.
OUTPUT

2. Image collage Using Python
Step 1: Importing the opencv library which is used for computer vision, machine learning, and image processing
import cv2
Step 2: If we want to manipulate any data ,it should be stored in a variable.
photo=cv2.imread(“image_1.jpg”)
photo1=cv2.imread(“image_2.jpg”)
Step3: To know the shape of the image.
photo.shape

photo1.shape

Step4: To create collage image size should be equal
photo1=photo1[0:300,:]
Step5 : Image is nothing but 2d or 3d arrays. to collage the image horizontally, there is function in numpy library — -numpy.hstack()is used to stack the sequence of input arrays horizontally (i.e. column wise) to make a single array
import numpy as np
photo_photo1_horizontal=np.hstack((photo,photo1))
Step6: Displaying the image
cv2.imshow(“Horizontal”,photo_photo1_horizontal)
cv2.waitKey()
cv2.destroyAllWindows()
OUTPUT

Step 7: Similarly for vertical collage. numpy.vstack()is used to stack the sequence of input arrays vertically (i.e. row wise) to make a single array
photo_photo1_vertical=np.vstack((photo,photo1))
cv2.imshow(“vertical”,photo_photo1_vertical)
cv2.waitKey()
cv2.destroyAllWindows()
OUTPUT

3. Image Cropping and Swapping Using Python
import cv2
import numpy as np
photo = cv2.imread(‘elena_2.jpg’)
cv2.imshow(“ELENA_1”, photo)
cv2.waitKey()
cv2.destroyAllWindows()
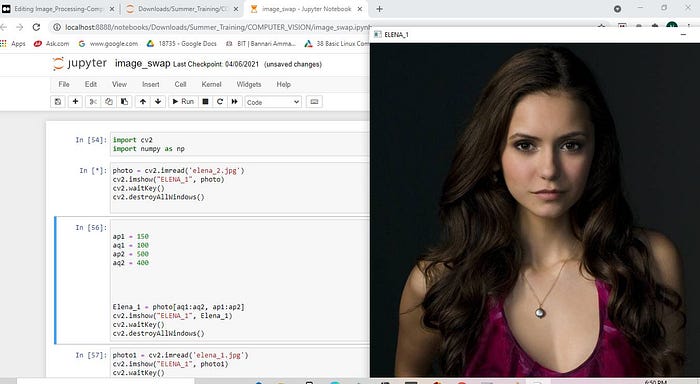
ap1 = 150
aq1 = 100
ap2 = 500
aq2 = 400
Elena_1 = photo[aq1:aq2, ap1:ap2]
cv2.imshow(“ELENA_1”, Elena_1)
cv2.waitKey()
cv2.destroyAllWindows()
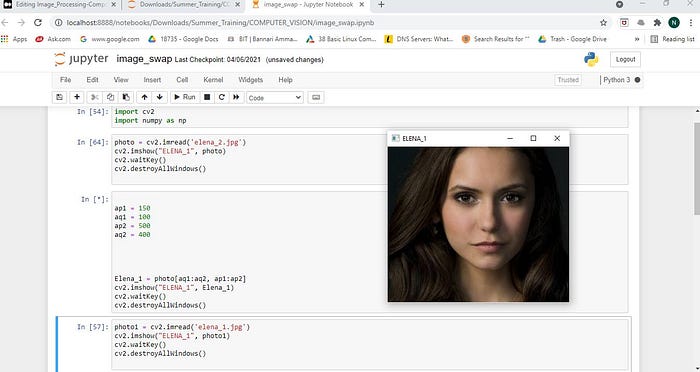
photo1 = cv2.imread(‘elena_1.jpg’)
cv2.imshow(“ELENA_1”, photo1)
cv2.waitKey()
cv2.destroyAllWindows()
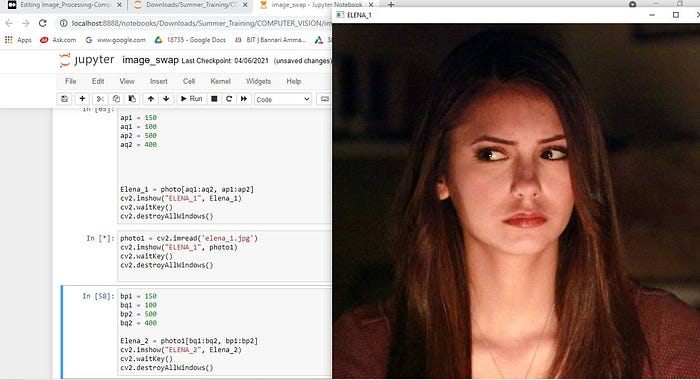
bp1 = 150
bq1 = 100
bp2 = 500
bq2 = 400
Elena_2 = photo1[bq1:bq2, bp1:bp2]
cv2.imshow(“ELENA_2”, Elena_2)
cv2.waitKey()
cv2.destroyAllWindows()
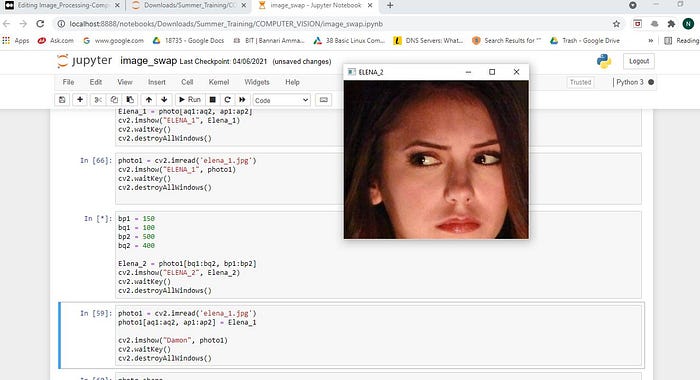
photo1 = cv2.imread(‘elena_1.jpg’)
photo1[aq1:aq2, ap1:ap2] = Elena_1
cv2.imshow(“Damon”, photo1)
cv2.waitKey()
cv2.destroyAllWindows()
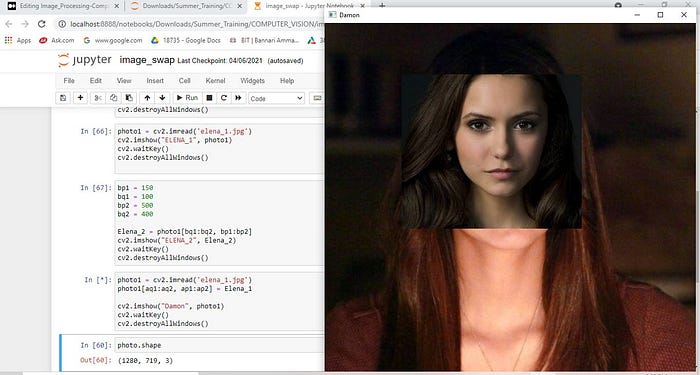
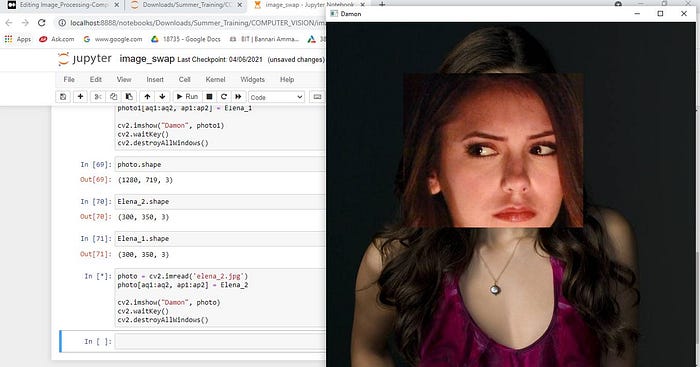
photo = cv2.imread(‘elena_2.jpg’)
photo[aq1:aq2, ap1:ap2] = Elena_2
cv2.imshow(“Damon”, photo)
cv2.waitKey()
cv2.destroyAllWindows()